DIY Sensory Rooms: Creating a DIY sensory room or calming corner on a tight school budget is an incredible way to support kids who need extra help regulating their emotions and sensory experiences during the hustle and bustle of the school day. Sensory rooms aren’t just special spots for a handful of students—they’re transformative spaces that can help any child take a break, refocus, and return to class ready to tackle learning with energy and calm. And the best part? You don’t need a huge budget or a giant room to get it done right. This article breaks down what sensory rooms are, why they’re important, practical budget-friendly advice, and detailed steps to build an effective calming corner that can fit into any school setting. It’s written to be clear enough for a 10-year-old to grasp but packed with valuable insights and data for educators and professionals aiming to create meaningful, inclusive environments.
Table of Contents
DIY Sensory Rooms
Building a DIY sensory room or calming corner on a school budget isn’t just possible—it’s a highly impactful investment in your students’ wellbeing and learning success. You don’t need expensive gear or a large space, just a clear understanding of your students’ sensory needs, smart use of resources, and a supportive community. By creating sensory-friendly spaces, schools empower kids to self-regulate, manage stress, and stay focused—making classrooms more inclusive and effective. Whether you’re a teacher, administrator, or parent, your efforts to build a calming corner can change lives.

| Key Point | Details |
|---|---|
| Purpose | Calming and balancing sensory input for all students |
| Budget-Friendly Essentials | Bean bags, sensory bins, mirrors, lights, weighted blankets |
| Cost Examples | Bubble tube ~$120, blackout light $17, acrylic mirrors $60 each |
| DIY Tips | Repurpose, seek donations, and host fundraising |
| Professional Involvement | Occupational therapists recommend sensory rooms for behavioral & emotional support |
What Is a Sensory Room and Why Does Your School Deserve One?
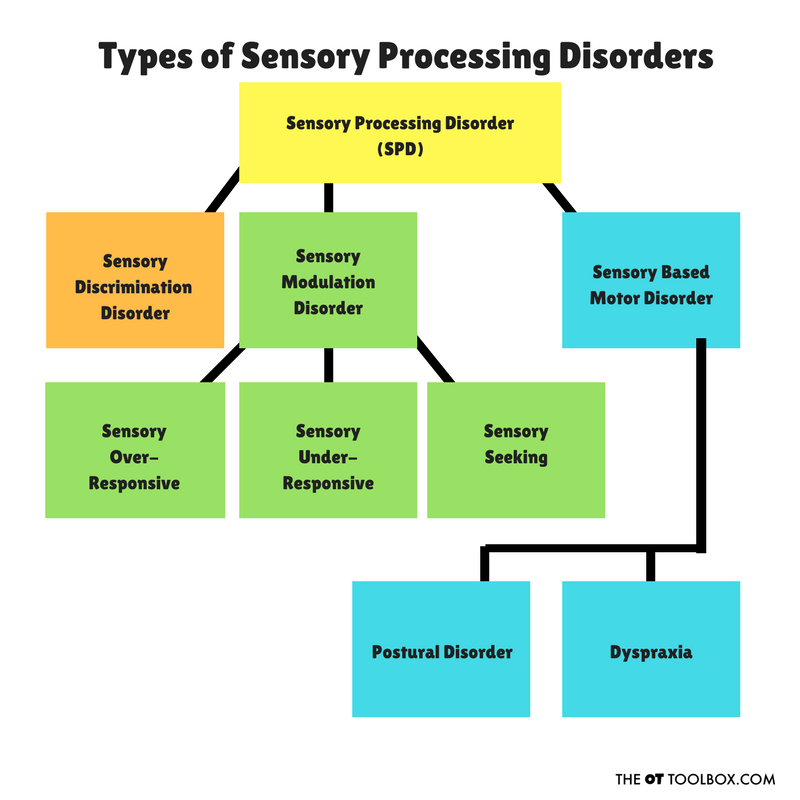
A sensory room is a thoughtfully designed area filled with tools and materials that provide sensory input—through touch, sight, sound, movement—to help kids regulate emotions and focus better. It’s not just for students with autism or sensory processing challenges—sensory rooms benefit children with ADHD, anxiety, or even those dealing with everyday classroom stress.
Sensory rooms support schools by:
- Helping regulate emotions: Offering students a safe place to calm down and manage stress.
- Balancing sensory input: Providing either calming or alerting sensory experiences to help kids stay “just right” in their arousal and focus.
- Enhancing learning readiness: Allowing students to return to class refreshed and ready to engage with lessons.
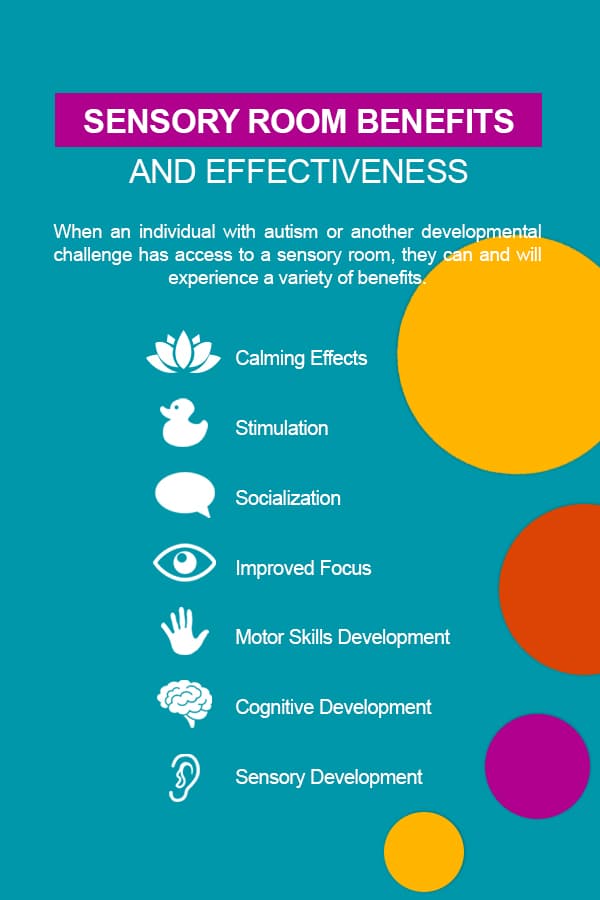
Research backs this, showing sensory supports can reduce anxiety, improve behaviors, and increase classroom participation. Sensory rooms have moved from luxury to becoming essential tools supporting inclusion and academic success.
The Science of Sensory Processing
Our brains process sensory information from all around us, like sounds, textures, lights, movement, and smells. Some students’ brains handle this info differently—they might be hypersensitive (easily overwhelmed) or hyposensitive (seek more stimulation).
Sensory rooms deliver exactly what these students need: deep pressure to calm (think weighted blankets), vestibular movement to energize (swings, balance boards), or visual stimulation (bubble tubes, soft lights). Understanding these sensory systems empowers schools to customize spaces that meet diverse student needs.
Step-by-Step Guide to Creating a DIY Sensory Rooms Within Your Budget
Step 1: Evaluate and Understand Your Students’ Sensory Needs
Before you start shopping or decorating, identify who will most benefit from a sensory corner and what types of input they need. Work with your school’s occupational therapists, counselors, special educators, and parents to gather sensory profiles or conduct observations. These insights help tailor your sensory space for maximum impact and ensure you spend money on tools your students will actually use.
For example, some students need calming deep pressure (weighted blankets), others need movement breaks (balance boards), and others may benefit from visual or auditory stimulation.
Step 2: Select the Perfect Space and Start Small
A full sensory room is great, but awesomeness comes in all sizes. Even a well-curated corner in a classroom or a converted closet can serve as an effective calming space for students.
Choose a quiet, low-traffic area with natural light if possible. Add soft seating: bean bags, pillows, floor cushions, and rugs provide comfy places to relax and decompress. Use calming paint colors or temporary wall decals in soft blues, greens, or neutral tones to create a soothing atmosphere.
Initially, focus on multipurpose, low-cost items before investing in pricier equipment.
Step 3: Build Your Sensory Toolkit Without Breaking the Bank
Prioritize tools that offer clear sensory benefits, are durable, and serve multiple purposes. Here are budget-friendly essentials to add to your sensory corner:
- Weighted Lap Pads or Blankets: Provide calming deep pressure, helping reduce anxiety and promote focus. Lap pads can cost between $50-$75 and can be homemade if guidelines are followed.
- Sensory Bins: Use plastic boxes filled with rice, beans, or water beads and add small toys or textures. These DIY bins cost around $10-$20 each but offer hours of tactile engagement.
- Bubble Tubes or LED Mood Lights: Classic visual sensory tools that provide soothing movement and color. Budget-versions are available for $100-$150 online.
- Crash Pads or Gym Mats: Soft areas for heavy work input or safe landing spots cost roughly $40-$100.
- Balance Boards or Rocking Chairs: Help provide movement input which many students need for regulation.
- Visual Aids and Calm-Down Charts: Printable guides and emotion cards help promote self-regulation and independence.
- Noise-Canceling Headphones or Soft Music: Manage auditory distractions and provide calming soundscapes.
Look for used or donated equipment through parent groups or community organizations. Local businesses may sponsor or donate supplies for school wellness projects.
Step 4: Design Your Space for Comfort, Accessibility, and Safety
Make sure your sensory corner is safe and welcoming:
- Secure all items like bubble tubes and mirrors firmly.
- Opt for durable, wipe-clean materials that handle heavy use.
- Arrange the area with separate zones: a comfortable seating spot, a tactile play section, and a visual interest area.
- Avoid clutter to prevent overstimulation.
- Make the space accessible to students with different mobility or sensory needs.
Step 5: Train Staff and Teach Students
The best sensory room shines when everyone knows how to use it well. Develop simple rules outlining who can use the space, how often, and for how long. Train teachers and aides to recognize when students might benefit from sensory breaks and how to coach them on using the tools purposefully.
Integration into classroom routines and embedding sensory breaks into Individualized Education Programs (IEPs) or 504 plans improves outcomes.
Maintaining and Growing Your DIY Sensory Rooms
A sensory corner is a living space that needs regular upkeep. Wash sensory bin contents as needed, replace worn or broken items, and check electrical equipment for safety. Keep a small stockpile of extra sensory tools to swap out and maintain student interest.
As your budget or community support expands, consider adding more advanced equipment like fiber optic lighting, adaptive swings, or specialized sound systems, but always balance cost with actual use.
The Power of Community: Fundraising and Partnerships
Money tight? You’ve got options. Involve your school community in supporting the sensory room:
- Host fundraisers with clear messaging about how sensory tools boost learning and behavior.
- Connect with local therapy providers or nonprofits that may donate equipment.
- Encourage parent volunteers to help assemble sensory bins or make DIY sensory tools.
- Apply for grants focused on special education, inclusion, or mental health.
These efforts not only provide funds but also build awareness and support for sensory needs.
Erasmus+ for Inclusion: How to Write a Winning Project Proposal for Your School
Seminar Calendar 2025: Top Accredited Training for Inclusion Points
Sensory Overload: Quick Classroom Fixes for Hypersensitive Students